Creating Animations With Rough Notation

The first thing we sometimes see when we open websites are the really cool animations they have. Whether it's 3D or simple scribbles, animations can go a long way to help beautify an interface.
In this article, we are going to create simple animations for a website using a javascript library known as rough notation. I can't wait to show you :) Our final website is nothing too complicated, just enough to show you how to start with rough notation.
What is rough notation?
Rough notation is a javascript library that helps to create and animate annotations on a web page. There are many different types of animations that you can do with this library. You can;
Highlight
Circle
Underline
Cross off
Strike
Draw brackets
I'm going to take you from the very basic HTML/CSS very quickly, and then we can start with our library.
Let's get into it!
For the very first step, we are going to create all necessary files. You could have a simple index.html, styles.css, and index.js running.
Then we want to import the rough notation library. The rough notation docs provide three ways to do this, but I will load the ES module directly for the sake of this tutorial. You can just copy the script from below and add it to your index.html file.
<script type="module" src="https://unpkg.com/rough-notation?module"></script>
HTML
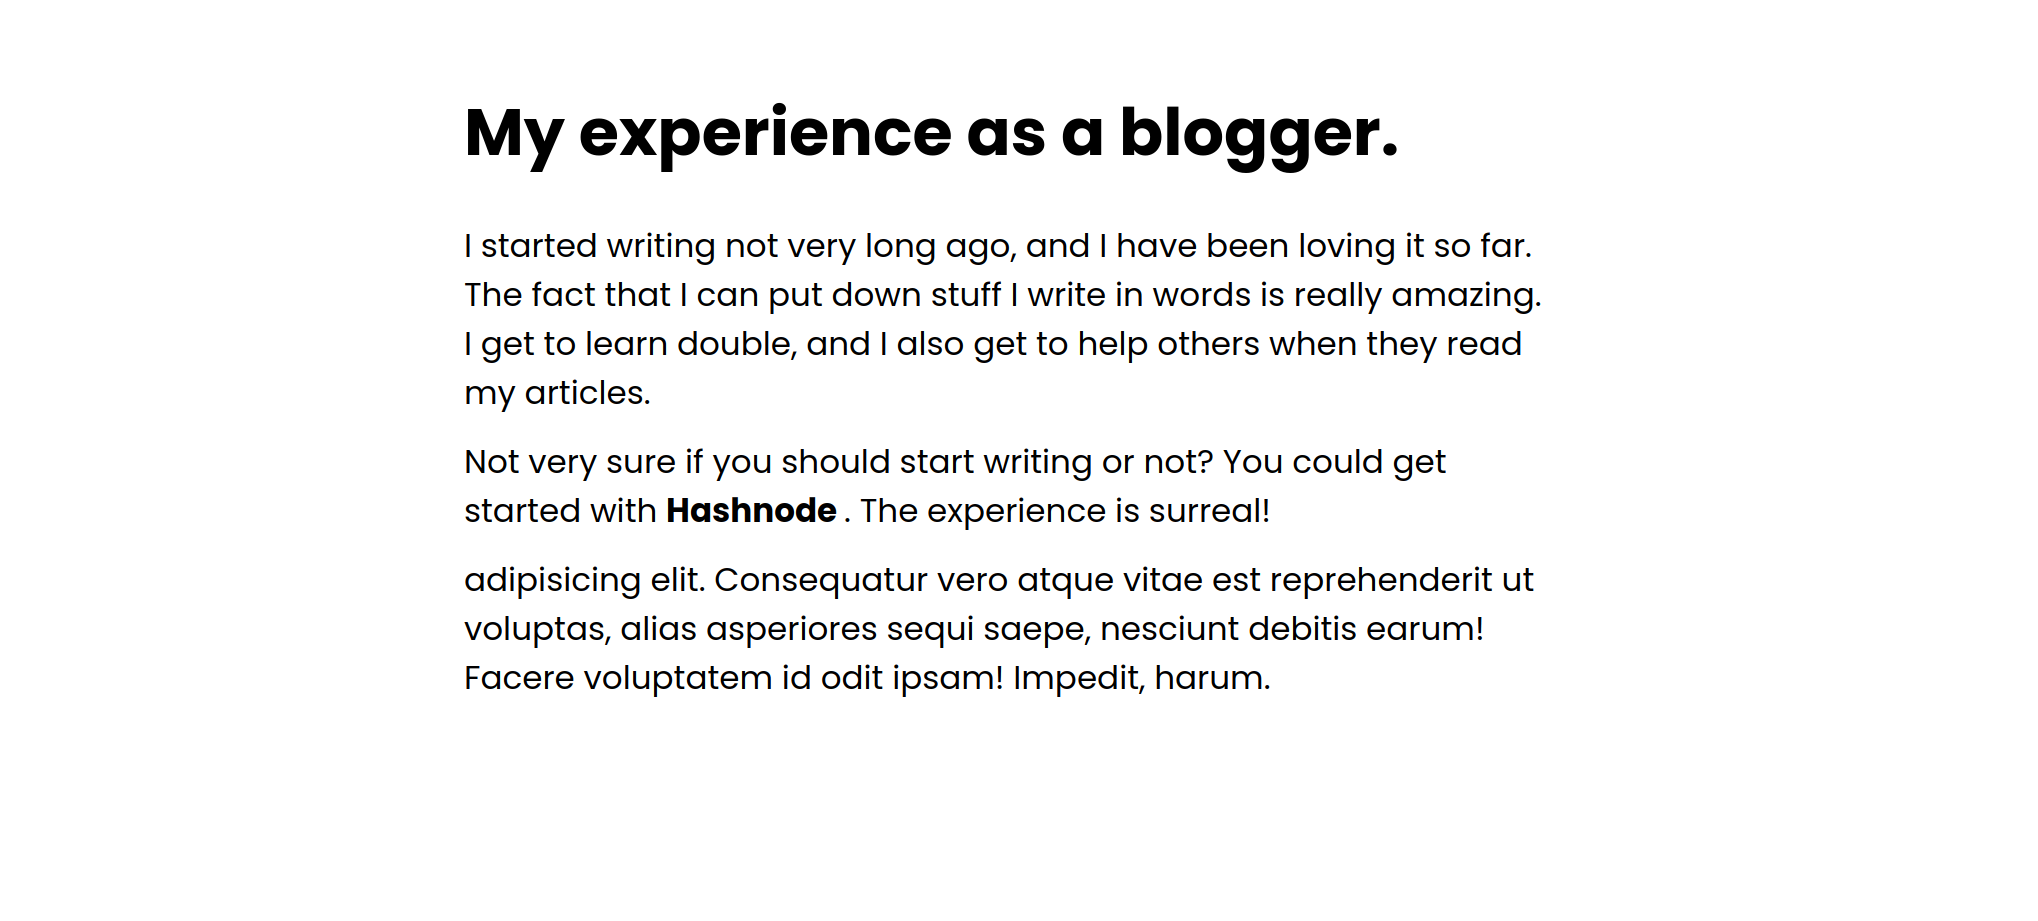
I have a simple index.html file with nothing huge in it. Just an h1 and a few p tags to demonstrate.
<body>
    <div class="container">
        <h1 class="header">My experience as a blogger.</h1>

    <p>I started writing not very long ago, and I have been loving it so far. The fact that I can put down stuff I write in words is really amazing. <span class='line'>I get to learn double</span>, and I also get to help others when they read my articles.
    </p>

<p>Not very sure if you should start writing or not? You could get started with <strong class="hashnode">Hashnode </strong>. The experience is surreal!</p>

    <p class="block">adipisicing elit. Consequatur vero atque vitae est reprehenderit ut voluptas, alias asperiores sequi saepe, nesciunt debitis earum! Facere voluptatem id odit ipsam! Impedit, harum.
</p>
</div>

    <script type="module" src="sandbox.js"></script>
    <script type="module" src="https://unpkg.com/rough-notation?module"></script>


</body>
Notice how I apply certain classes to the h1, the strong tag, and the last p tag. We will be using javascript to target these later.
CSS
For my CSS, I just imported a font and added styles to my HTML to make it look a little pretty. It doesn't look particularly special after this stage though.
@import url('https://fonts.googleapis.com/css2?family=Nunito:ital,wght@0,200;0,300;0,400;0,500;0,600;0,700;0,800;0,900;1,200;1,300;1,400;1,500;1,600;1,700;1,800;1,900&family=Open+Sans:ital,wght@0,300;0,400;0,500;0,600;0,700;0,800;1,300;1,400;1,500;1,600;1,700;1,800&family=Poppins:ital,wght@0,100;0,200;0,300;0,400;0,500;0,600;0,700;0,800;0,900;1,100;1,200;1,300;1,400;1,500;1,600;1,700;1,800;1,900&family=Raleway:ital,wght@0,100;0,200;0,300;0,400;0,500;0,600;0,700;0,800;0,900;1,100;1,200;1,300;1,400;1,500;1,600;1,700;1,800;1,900&display=swap');

*{
    box-sizing: border-box;
    margin: 0;
    padding: 0;
}
body{
    font-family:'Poppins',sans-serif;
    line-height:1.5;
    padding:40px 40px;
    margin:auto;
}
.container{
    margin: auto;
  width: 60%;
  padding: 10px;
}
p{
    margin-bottom: 10px;
}
h1{
    margin-bottom: 20px;
}
Our output should be looking pretty empty, with no animations on it, but we will fix that in the next step.
JavaScript
This is the best part. We will use our library to target certain elements on the DOM and apply our animations to them. But we lack one essential step. We have to import the library in our javaScript file as well. We do this by typing the following,
import {annotate, annotationGroup} from "https://unpkg.com/rough-notation?module"
The next thing we want to do is store our targeted elements in variables.
const header = document.querySelector('.header');
const hashnode = document.querySelector('.hashnode');
const block =  document.querySelector('.block');
const line =  document.querySelector('.line');
We can now annotate animations to the individual targeted elements. Say we wanted to add animations to the header,
const annotation = annotate(header, { type: 'highlight', color:'skyblue' });
annotation.show();
The annotate function takes two parameters: the element we want to apply animations to and an object. The object itself has two attributes in this case. The type of animation, and the color. We want to highlight our element with a sky blue color.
After applying this we use annotation.show() to apply it. Our result now looks like,
Let's go ahead and annotate the other elements.
const annotation = annotate(header, { type: 'highlight', color:'skyblue' });
const annotation2 = annotate(hashnode, { type:'circle', color:'yellow', padding:7});
const annotation3 = annotate(line, { type: 'underline', color:'blue' });
const annotation4 = annotate(block, {type:'bracket', color:'pink',brackets: ['left', 'right'], strokeWidth:5});


const array = annotationGroup([annotation, annotation2, annotation3, annotation4]);
array.show()
From above, you can see that I added different object attributes. You could add padding to an animation, or increase the stroke width to adjust thickness. For brackets, we use brackets: ['left', 'right'] if we want brackets on both sides of the element.
You can also notice that I am using an annotation group because I want to store the annotations in an array and show them all at once. Without the annotation group, you would have to use show each animation on its own.
Our little website now looks something like this,

That's it for the rough notation library, and it's really fun to play around with it. The docs have way more information that we couldn't add in this article, and I advise that you check it out here for more information.


